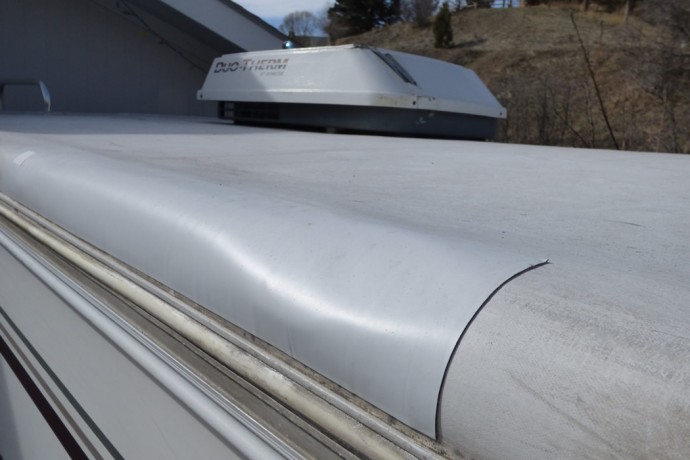
Most manufacturers of RVs and motor homes install rubber roofs because they are lightweight and flexible. A rubber roof will last 20 years or more with proper maintenance. But what if you hit a tree branch or something that tears a hole in your rubber roof? Don’t worry, there is an easy solution that will make your rubber roof water tight and last another 20 years.
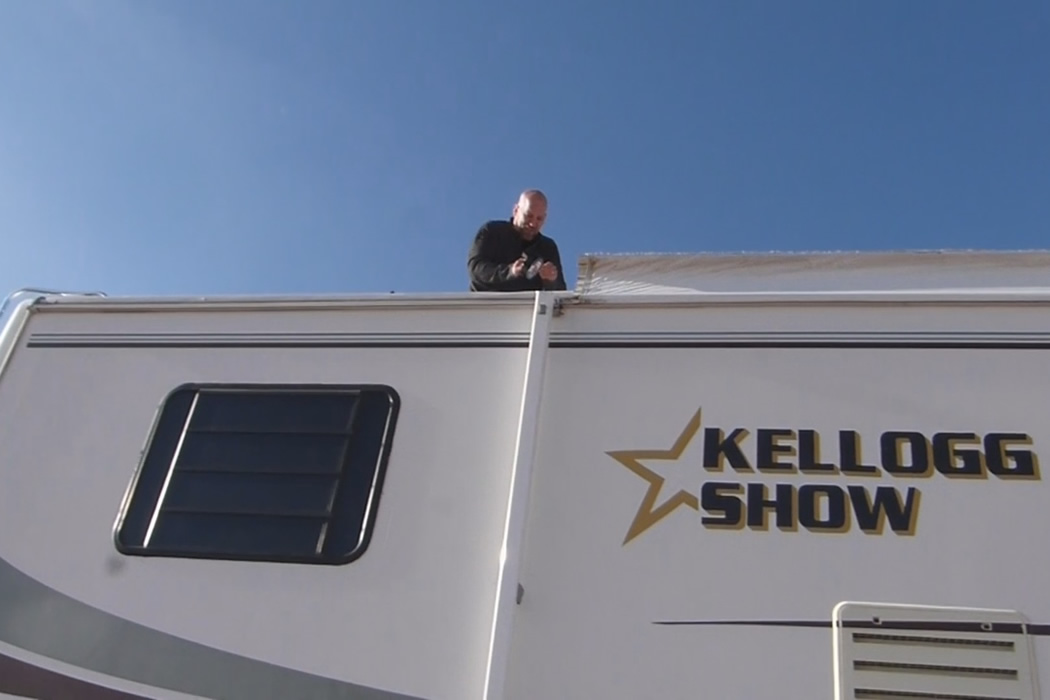
We experienced this situation when extremely strong winds literally ripped our awning right off the roof of our RV while we were driving down the highway in New Mexico. The awning cartwheeled off the roof and tore a small hole near the back as it launched into the air and down the highway. Fortunately, no one was behind us as the awning cartwheeled down the highway and into the median.
I used duct tape as a temporary patch, but knew I would need to make repairs to avoid a leaking roof. After getting an estimate to have the repair done professionally, I researched other options to avoid a costly repair. That’s when I discovered [amazon text=EternaBond RoofSeal Tape&asin=B003RW29FW]. This amazing product will seal any rip, tear, or open seam on any roof surface. It is recommended for virtually all roof types, including EDPM, TPO, hypalon, most PVC, all metals, tile, wood and more.
If you only have a small repair, you can buy a [amazon text=small roll&asin=B003RW29FW] of EternaBond tape for under $20. For larger repairs, it comes in [amazon text=larger rolls&asin=B002RSIK4G]. You will need a couple of other products to get the job done.
Here’s what you will need:
1. EternaBond Repair Tape
2. EternaBond Spray Cleaner
3. A solid rubber roller
How to Repair Your RV Roof:
- Use EternaBond spray cleaner to remove dirt and oxidation from the roof surface. Simply spray, wipe clean with a rag, and wait a minute for it to dry.
- Apply EternaBond RoofSeal tape. Measure the area you need to cover, cut the tape, peel off the backing and apply the tape. Note: The tape forms an instant bond, so be careful when you apply the tape because you cannot peel it off again.
- Use a roller to apply moderate pressure for a permanent seal. That’s it, you’re done!!
Wow, that’s so simple one of my kids could do it. Sure beats the costly repair done by a professional.
If you travel extensively, like we do, or you have a habit of hitting low hanging tree branches, then I highly recommend you carry a small roll of EternaBond tape with you for emergency repairs on the road. You never know when the wind might whip up a can of whoopsie on your RV.
Perfect step, may I know much did you spent to that kind of repair?
I’m curious where did you bought your material for repair? and how much?
I bought everything from Amazon. You can use the links above to order the products needed. It only cost about $40 for everything, and I have leftover repair tape in case I need to do another repair.
This is exactly what we needed, cheap and easy, thanks!
RV repair is not a matter of car repair so you have to take it seriously it’s your home too. Roof leak Repair is a proper solution to repair it for long time relaxation.
Dan, I appliedthis eternbond tape to corner of camper roof, but now see site that states this is mistake because it traps moisture and will cause wood for. Your advice?
Eternabond tape is designed to seal out moisture. Although it’s best to clean and dry the area before applying the tape, it can actually be applied on a wet surface.
We sealed the edge of our roof 5 years ago and it is still holding strong with no leaks.
Do not wait before repairing the rubber roof of your RV because it might be too late and you will end up dealing with more damages in the future.RV Roof Magic is one of the best and simplest preventative measures you can do.
Haha wow, I love this man. PLEASE keep posting! Can’t wait to read your next blog!